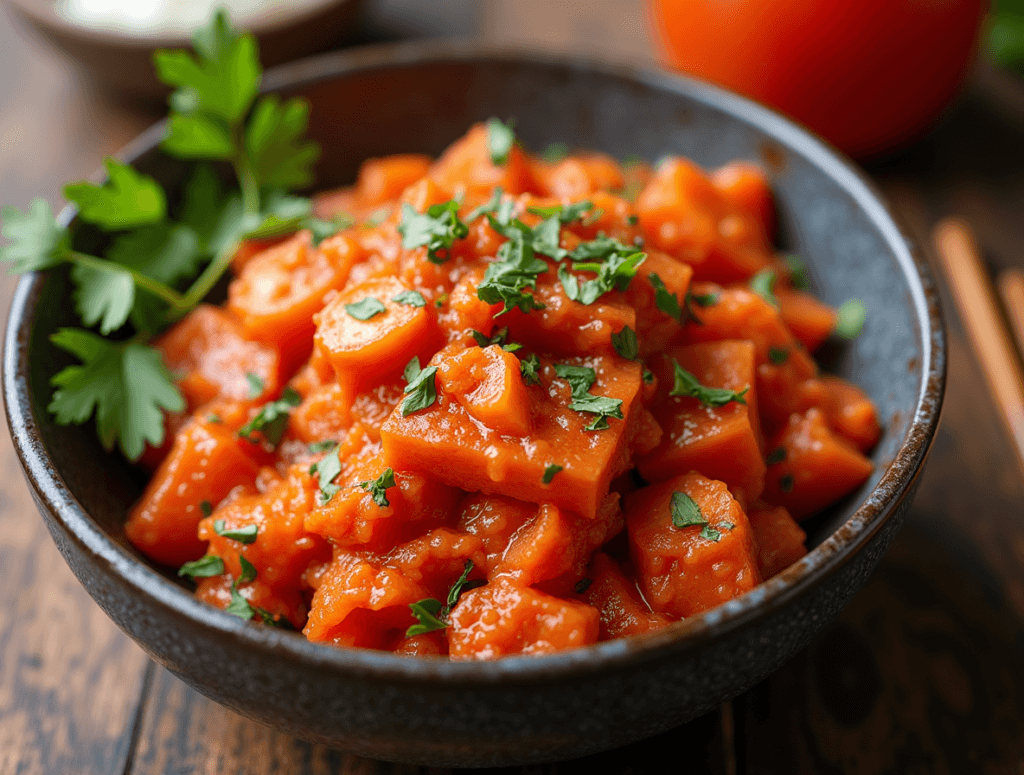
Master the Art of Perfect Kimchi Fermentation in Just 5 Easy Steps
Kimchi is a cornerstone of Korean cuisine, celebrated for its bold flavors, health benefits, and cultural significance. Whether you’re a seasoned cook or a culinary enthusiast exploring Korean foundations, mastering kimchi fermentation will take your cooking skills to the next level. In this guide, we’ll walk you through the process step-by-step, ensuring you achieve the perfect balance of flavor, texture, and fermentation every time.
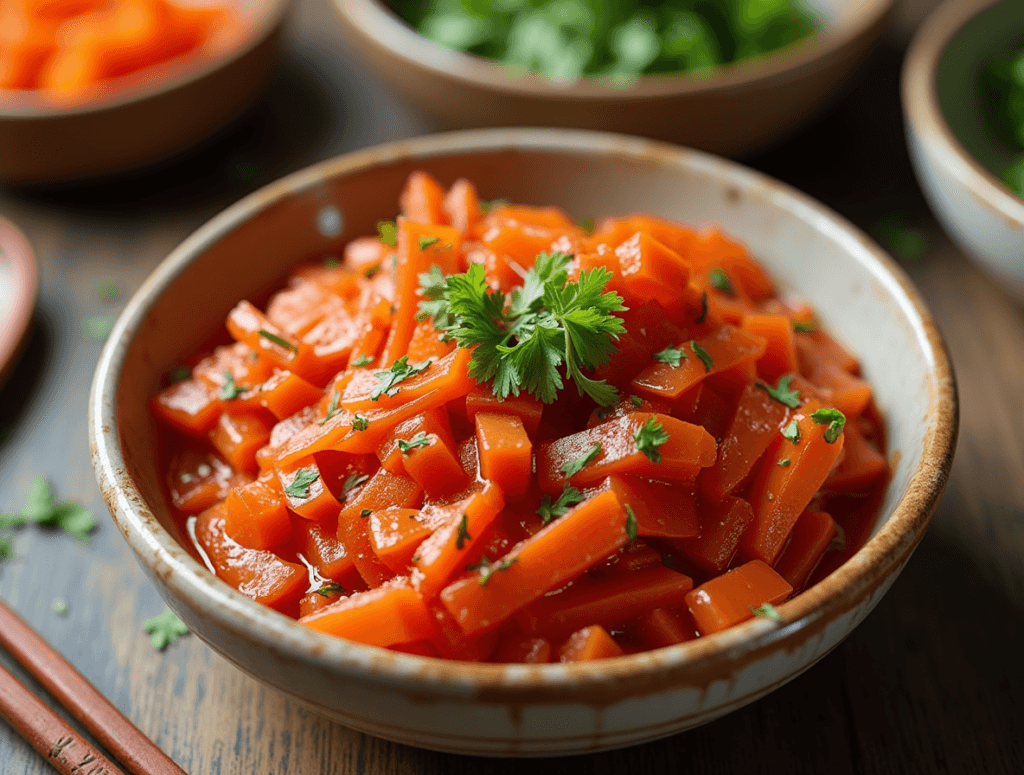
Table of Contents
Introduction: Why Kimchi is a Must-Learn Recipe
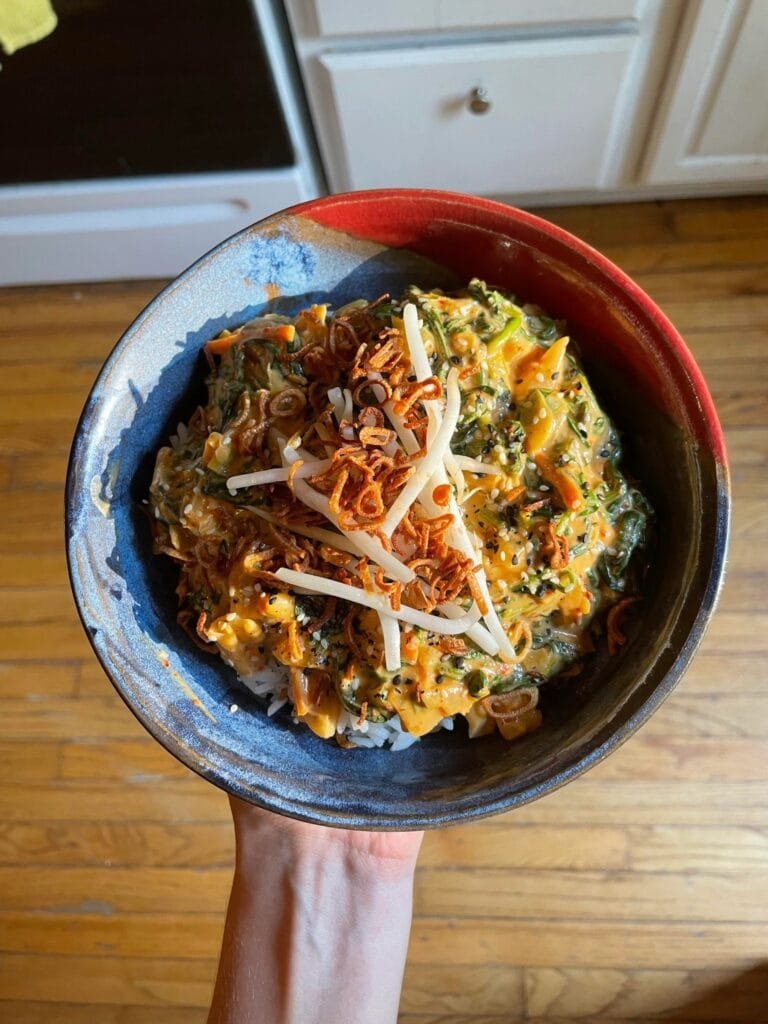
Kimchi has been a staple in Korean households for centuries, offering not only a burst of flavor but also numerous health benefits. Known as a “probiotic powerhouse,” kimchi is packed with beneficial bacteria that promote gut health. Its versatility makes it a great addition to many dishes, from rice bowls to soups.
This guide focuses on creating kimchi using a modern approach while respecting traditional Korean fermentation methods. By following these 5 easy steps, you’ll gain the confidence of a kimchi fermentation pro.
Step 1: Gather the Right Ingredients and Tools
To master kimchi fermentation, start with the right ingredients and tools. Each component contributes to the dish’s authenticity and flavor profile.
Essential Ingredients:
- 1 medium napa cabbage (approximately 2 lbs)
- 1/4 cup sea salt or Korean coarse salt
- 5 cups water
- 1 medium radish (julienned)
- 4 scallions (cut into 1-inch pieces)
- 3 tablespoons Korean chili flakes (gochugaru)
- 1 tablespoon fish sauce or soy sauce
- 1 tablespoon minced garlic
- 1 teaspoon grated ginger
- 1 teaspoon sugar
Tools You’ll Need:
- Kimchi fermentation jar or container (airtight)
- Large mixing bowl
- Kitchen gloves (to protect hands from chili paste)
Using a proper kimchi fermentation container or jar ensures optimal fermentation conditions, preserving flavor and texture.
Step 2: Preparing the Napa Cabbage
The foundation of great kimchi lies in properly salted cabbage. Salting removes excess moisture, allowing the flavors to penetrate deeply.
Instructions:
- Cut and Rinse: Cut the napa cabbage into quarters lengthwise. Rinse thoroughly under cold water.
- Salt the Leaves: Sprinkle sea salt between each leaf, focusing on the thicker parts near the stem. Let it sit for 1-2 hours, turning occasionally to ensure even salting.
- Rinse Again: Rinse the cabbage thoroughly to remove excess salt. Squeeze gently to remove excess water and set aside.
Proper salting is key to achieving the crisp texture that defines authentic kimchi.
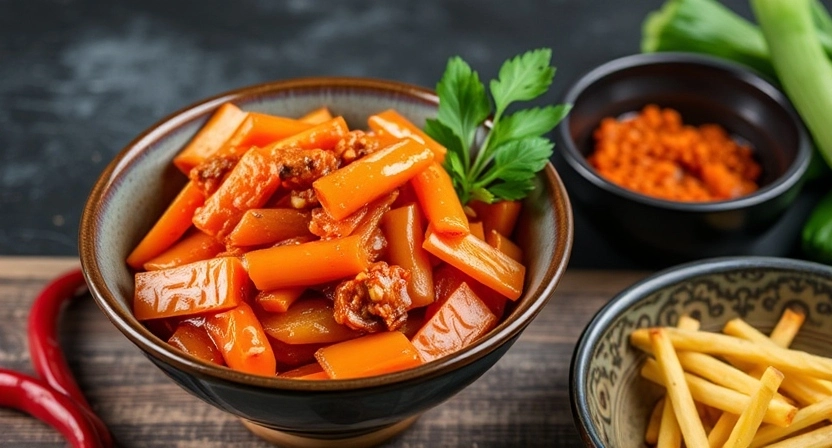
Step 3: Make the Kimchi Paste
The paste is the heart of your kimchi, blending savory, spicy, and umami flavors into a vibrant mixture.
Instructions:
- Create the Base: In a bowl, mix Korean chili flakes, fish sauce, garlic, ginger, and sugar. Add a splash of water if the mixture is too thick.
- Incorporate Radish and Scallions: Add the julienned radish and scallions to the paste, ensuring they’re well-coated.
- Taste and Adjust: Taste the paste and adjust the flavors if needed. For a milder version, reduce the amount of chili flakes.
The right balance of spice and savoriness will set your kimchi apart.
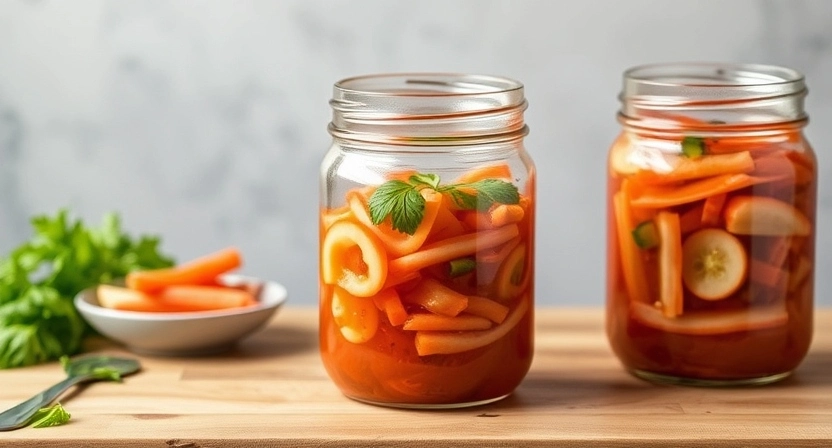
Step 4: Combine and Pack
This step brings the cabbage and paste together, creating the foundation for fermentation.
Instructions:
- Apply the Paste: Wear gloves and spread the paste evenly over each cabbage leaf, ensuring full coverage.
- Roll and Pack: Roll the cabbage tightly and pack it into your kimchi fermentation jar or container.
- Remove Air Pockets: Press the cabbage down firmly to eliminate air pockets. Top with leftover paste if available.
Using a high-quality kimchi fermentation container helps maintain the correct environment for fermentation, preventing spoilage and enhancing flavor.
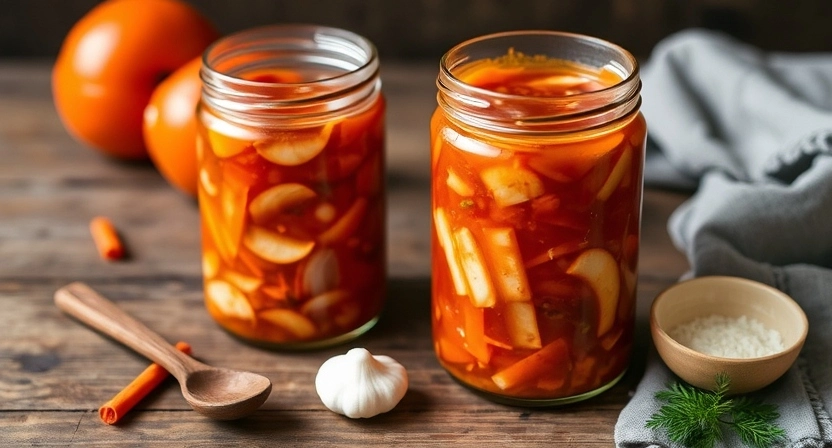
Step 5: Fermenting Like a Pro
Fermentation is where the magic happens. Here, patience pays off.
Instructions:
- Seal the Jar: Ensure the kimchi jar is airtight. Leave a small space at the top to accommodate gas expansion.
- Set the Time and Temperature: Store the jar at room temperature (65-75°F) for 1-2 days for initial fermentation. Then move it to the fridge.
- Monitor and Taste: After 5-7 days in the fridge, taste the kimchi. Fermentation time can vary based on your preference and the ambient temperature.
Kimchi fermentation time is flexible; some prefer fresh, mildly fermented kimchi, while others enjoy a more tangy and aged flavor.
Conclusion: Your Journey to Kimchi Mastery
Congratulations! You’ve mastered the art of perfect kimchi fermentation in just five easy steps. By using authentic ingredients, the right tools like a kimchi fermentation jar, and careful attention to fermentation time, you’ve created a dish that reflects the depth and richness of Korean culinary traditions.
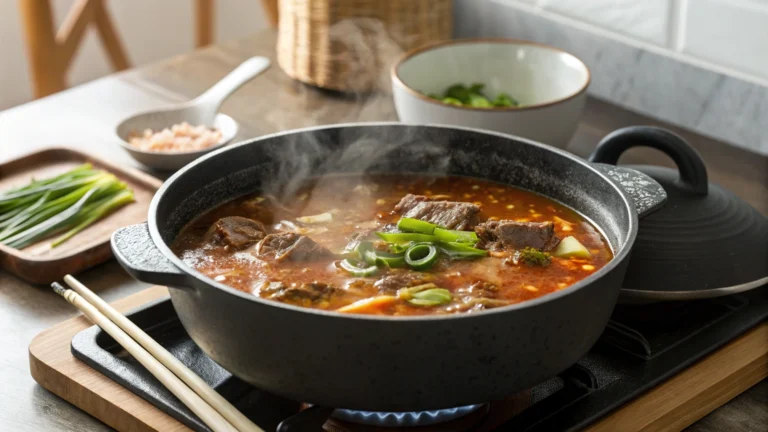
Kimchi isn’t just a recipe; it’s an expression of culture and creativity. Whether you’re enjoying it as a side dish, in soups, or as part of fusion cuisine, your homemade kimchi will bring bold flavors and health benefits to every meal.
FAQ: Common Questions About Kimchi Fermentation
Q: What makes kimchi a Korean foundation dish? A: Kimchi embodies the essence of Korean cuisine, combining bold flavors, fermented goodness, and cultural significance.
Q: Can I use any container for kimchi fermentation? A: It’s best to use a dedicated kimchi fermentation jar or container to ensure proper fermentation and avoid contamination.
Q: How do I know when my kimchi is ready? A: Taste is the best indicator. Fresh kimchi is mild, while fully fermented kimchi has a tangy, robust flavor.
Q: What is the ideal kimchi fermentation time? A: Initial fermentation takes 1-2 days at room temperature. Afterward, refrigerate for 5-7 days, adjusting to taste.
Q: How can I become a kimchi fermentation pro? A: Practice makes perfect! Experiment with ingredients, fermentation time, and spice levels to find your ideal balance.
Now that you’ve unlocked the secrets of kimchi fermentation, the possibilities are endless. Share your creations, experiment with variations, and continue exploring the vibrant world of Korean cuisine!
Spicy Korean Recipe 2024.
Cooking is an act of love and creativity! 🌟 What do you think of this recipe? I’d love to hear your thoughts and any tips or tweaks you’d suggest to make it even better. Let’s inspire each other in the kitchen!
There are no reviews yet. Be the first one to write one.
Cooking is an act of love and creativity! 🌟 What do you think of this recipe? I’d love to hear your thoughts and any tips or tweaks you’d suggest to make it even better. Let’s inspire each other in the kitchen!
There are no reviews yet. Be the first one to write one.